
Since the data collected in the application is sensitive, we must pay close attention to where we can store it.
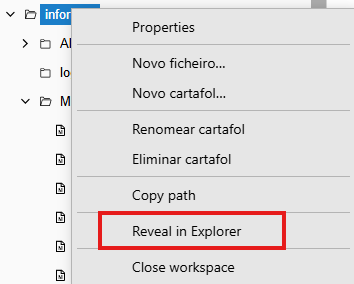
The first way to back up is by copying and pasting the workspace folder to another drive, such as a USB disk. We should handle it with great care. To find the path where the Workspace is located, right-click on the main element and choose the “Reveal in Explorer” option.
A second way to back up is by using the services that the Department of Education provides to teachers. As they are servers of the Department, this administration is responsible for the data file.
https://abalarbox.edu.xunta.gal
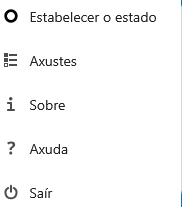
Once inside the application and after using personal “edu” credentials, we go to the settings button:
In the settings section, click on “Sharing”
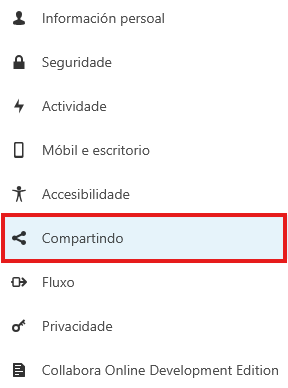
On the right, there is a button to copy the “federated cloud id,” which will have a similar format to the following and will be different for each user:
3ba552d2-0177-102d-8da9-27e9a9f3b0d5@abalarbox.edu.xunta.gal
From this id, we will define the WebDAV connection URL with a format like the following:
https://abalarbox.edu.xunta.gal/remote.php/dav/files/3ba552d2-0177-102d-8da9-27e9a9f3b0d5
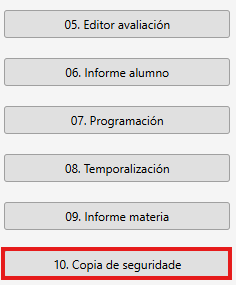
Next, we will click on the button labeled 10. Backup:
In the window that appears, we fill out the form with our data, making sure that the WebDav URL is the one you just created, and the user and password correspond to the edu service. We can click on “Remember” so we don’t have to enter this data each time we perform a backup.

Finally, we will click on Upload to Abalarbox. It’s not a quick process, so we will let it work while we perform another task.
To download the copied folder, we will do so from the AbalarBox web interface.